
Price Rejection
Oscillator.
An oscillator that measures price conviction and volume to identify strong price rejections and potential reversals.

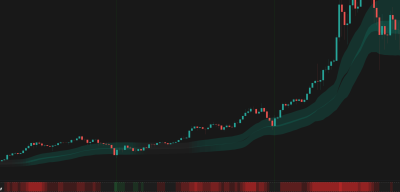
Trend continuation when price hits AMAB support zone and PRO no longer indicates over-extended - BTCUSD, 1D
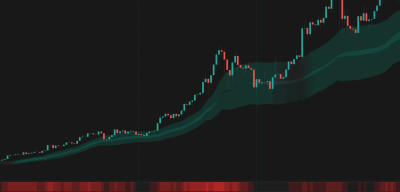
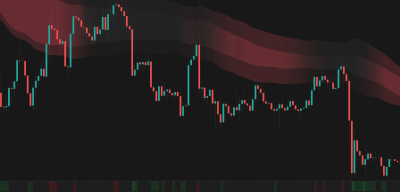
Overview
The Problem
Price often wicks at key levels, but it's hard to tell if a wick is just noise or a genuine rejection with institutional backing. Traditional oscillators don't factor in the conviction of the move.
The Solution
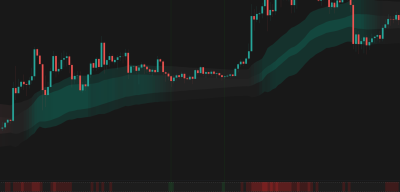
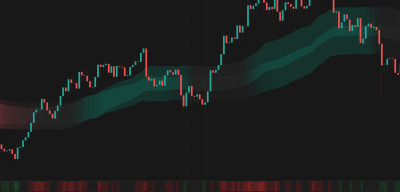
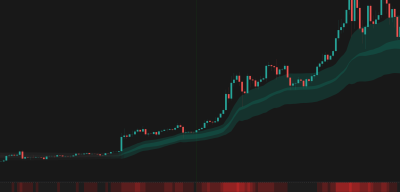
The Price Rejection Oscillator uses price conviction to measure the true strength of a move. It visualizes this intensity through a color-coded heat row, making it easy to spot exhaustion and reversals.
Who It's For
Reversal traders, day traders, and anyone looking to validate support/resistance bounces with volume and price action conviction.
Key Features
Volume-Blended Conviction: Blends price conviction with volume activity to measure true market participation.
Dynamic Intensity Limits: Automatically adapts to current market volatility, preventing false signals in quiet markets.
Multi-Level Intensity Heatmap: Visualizes signal strength across 5 levels (from Entry to Critical) using intuitive color gradients.
Compact Row Display: Designed to be displayed as a single row, allowing multiple oscillators to be stacked without cluttering the chart.
Comprehensive Alerts: Get notified at different stages of rejection intensity, from early entries to critical reversals.
How It Works
Conviction Measurement
The indicator analyses each candle's price action to determine how decisively the market moved. Strong, directional candles score higher conviction than indecisive ones.
Volume Confirmation
Conviction is weighted by volume activity over the lookback period, giving more importance to moves backed by high participation and filtering out low-volume noise.
Adaptive Thresholds
Instead of fixed overbought/oversold levels, the oscillator uses dynamic thresholds that automatically adjust to current market conditions. The signal's intensity reflects how far conviction has stretched beyond normal levels.
How To Use
Quickstart
- Add the Price Rejection Oscillator to your chart.
- Adjust the 'Lookback' period if you want faster or slower reactivity (default is 12).
- Stack it with other row-based indicators by adjusting the 'Show on Row' and 'Total Rows' settings.
- Look for deep color intensities (Level 3 or 4) as signs of strong rejection.
Interpretation
- Dark/Opaque Colors: Indicate strong conviction and high volume. These are prime areas to look for reversals or trend continuation.
- Light/Transparent Colors: Indicate weak conviction or low volume. The market is undecided.
- Color Flips: A change from Bullish (Green) to Bearish (Red) indicates a shift in momentum and potential trend change.
How We Use It
Ideas from our team applying Price Rejection Oscillator in real market conditions.
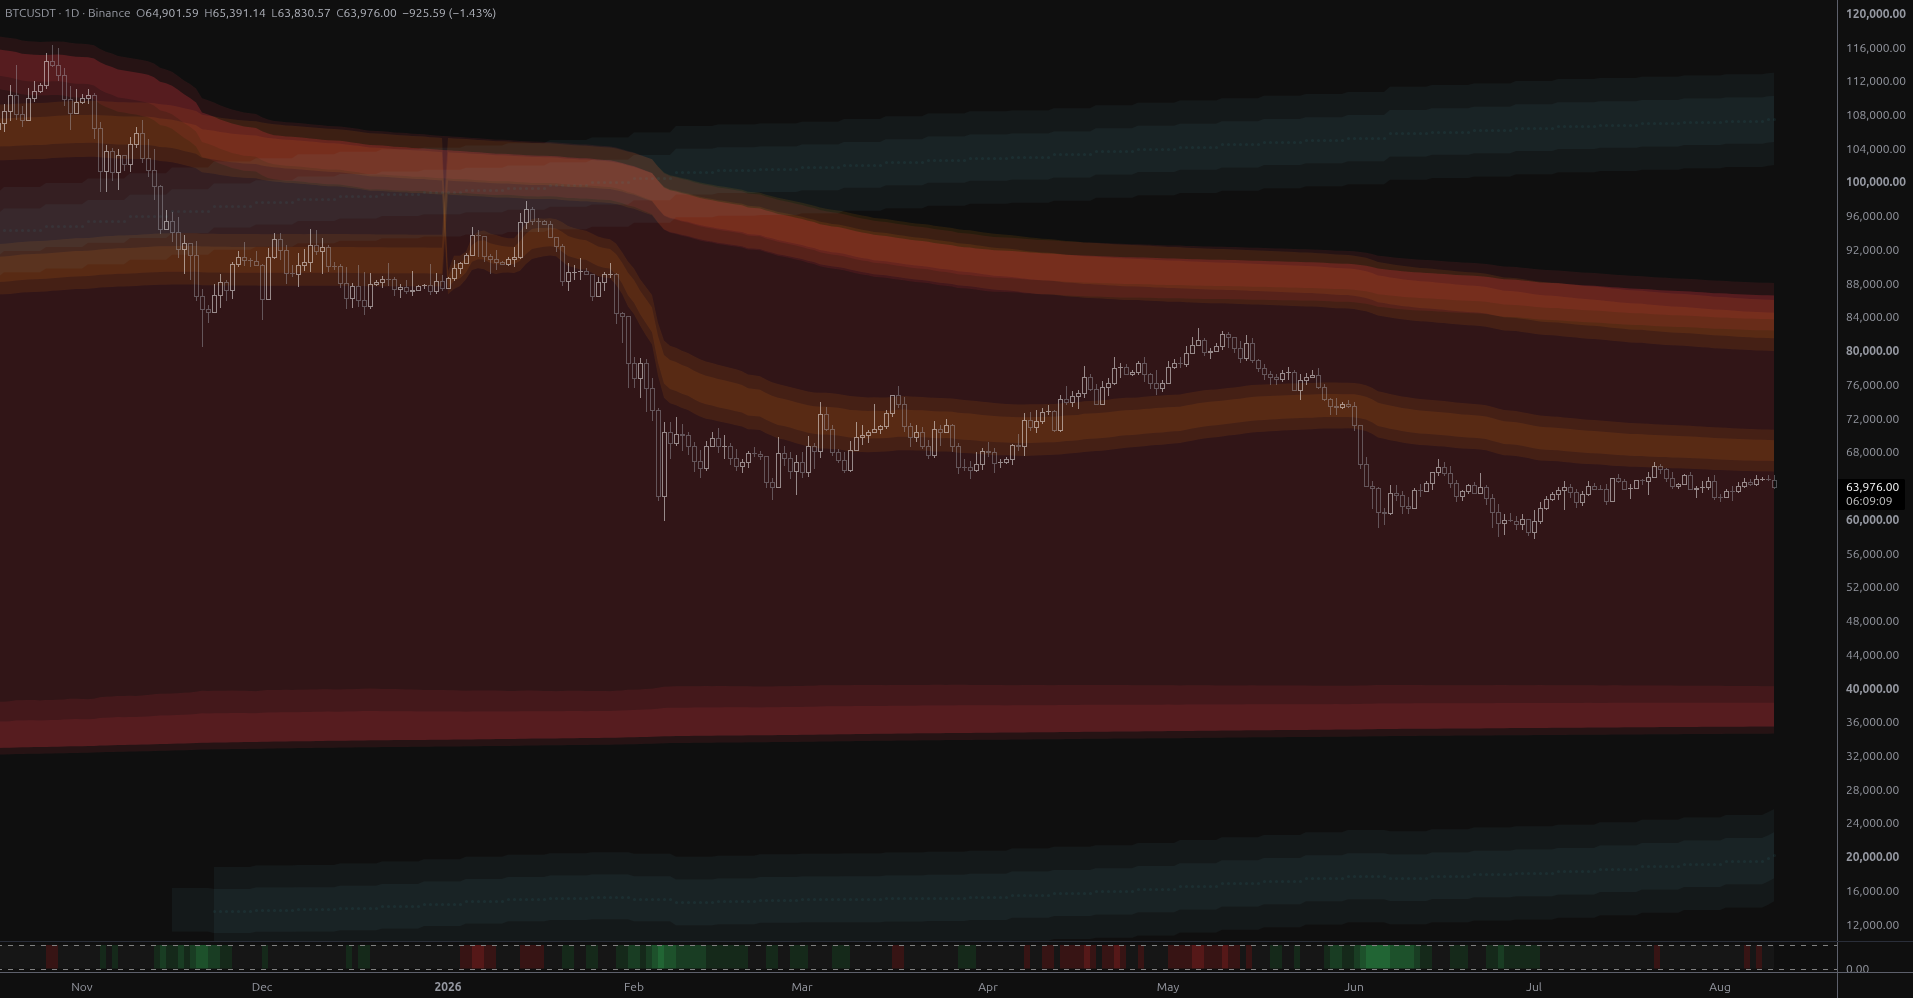
BTC Coils Just Under Its Yearly Value Rail
Bitcoin is coiling at $64,901 just 1.8% below its year-anchored value rail at $66,048, with structural bands far away in both directions. Ranked scenarios, key levels and the air pocket below $57,800.
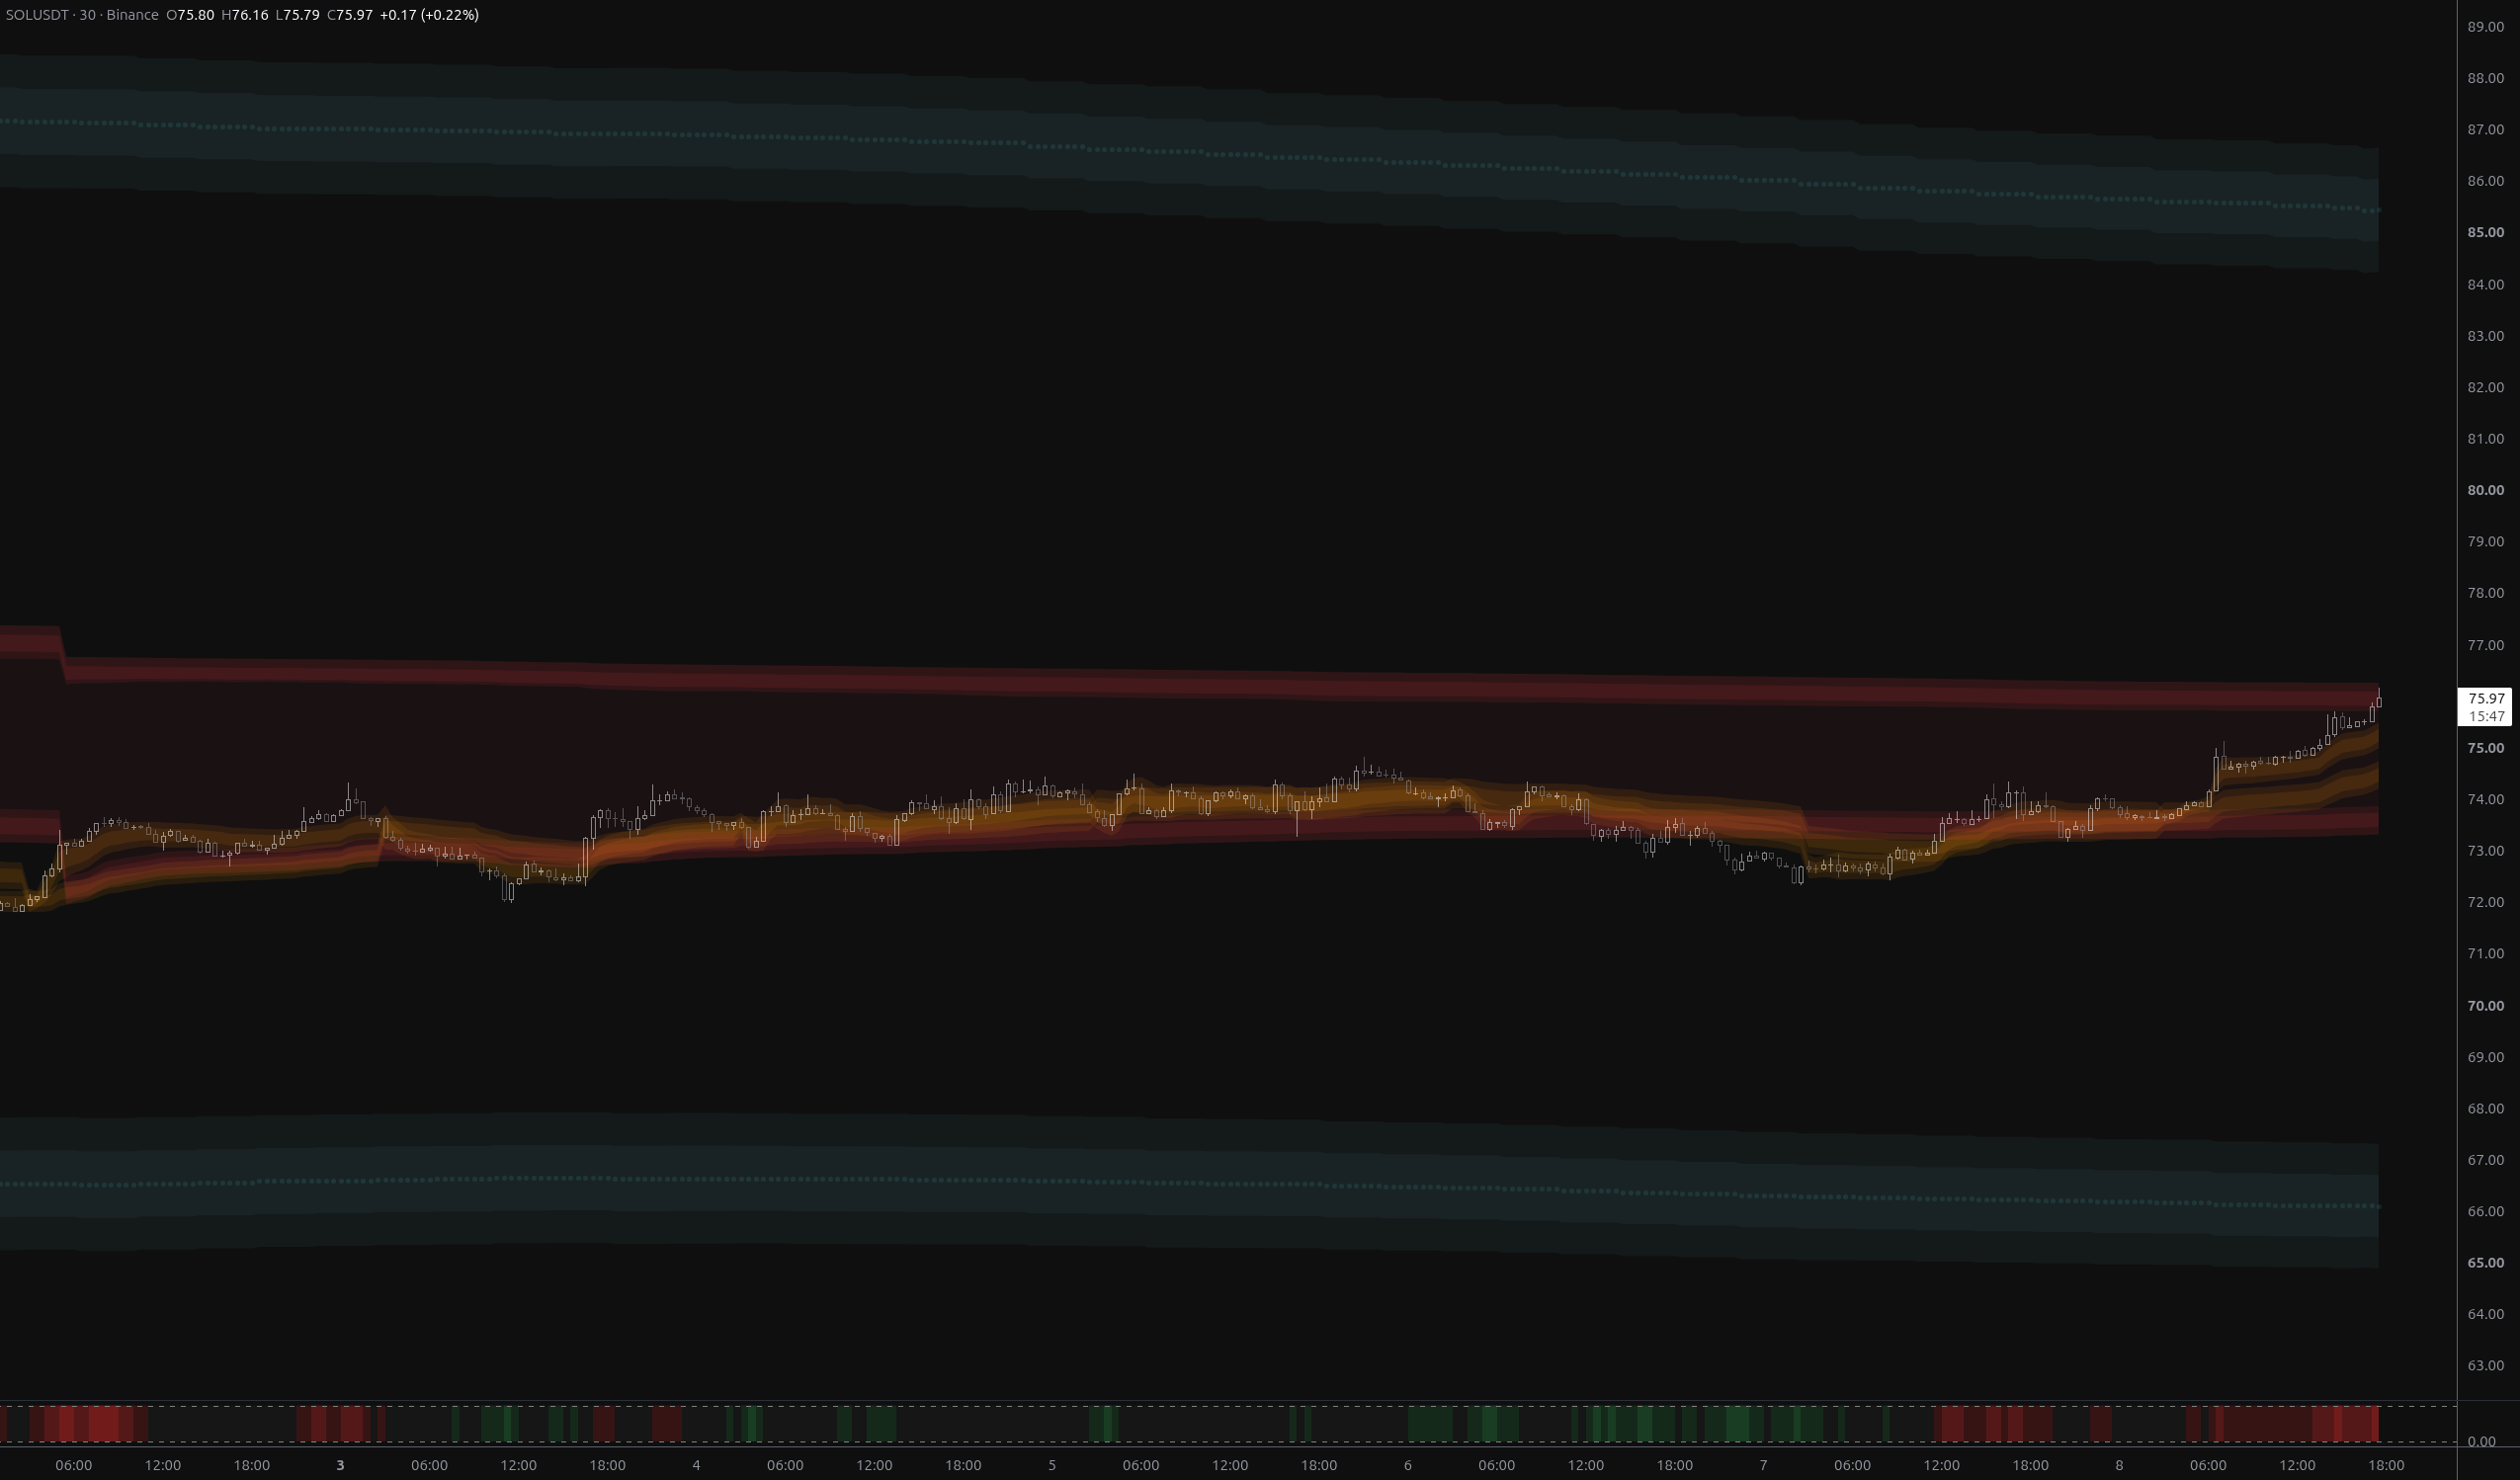
SOLUSDT: Bears Invalidated, $76.27 Now the Test
SOLUSDT has fully reversed the breakdown, reclaiming both fair-value envelopes and flipping its nearest structural band to above_1. The $75.73–$76.27 rail zone is now the decisive test.
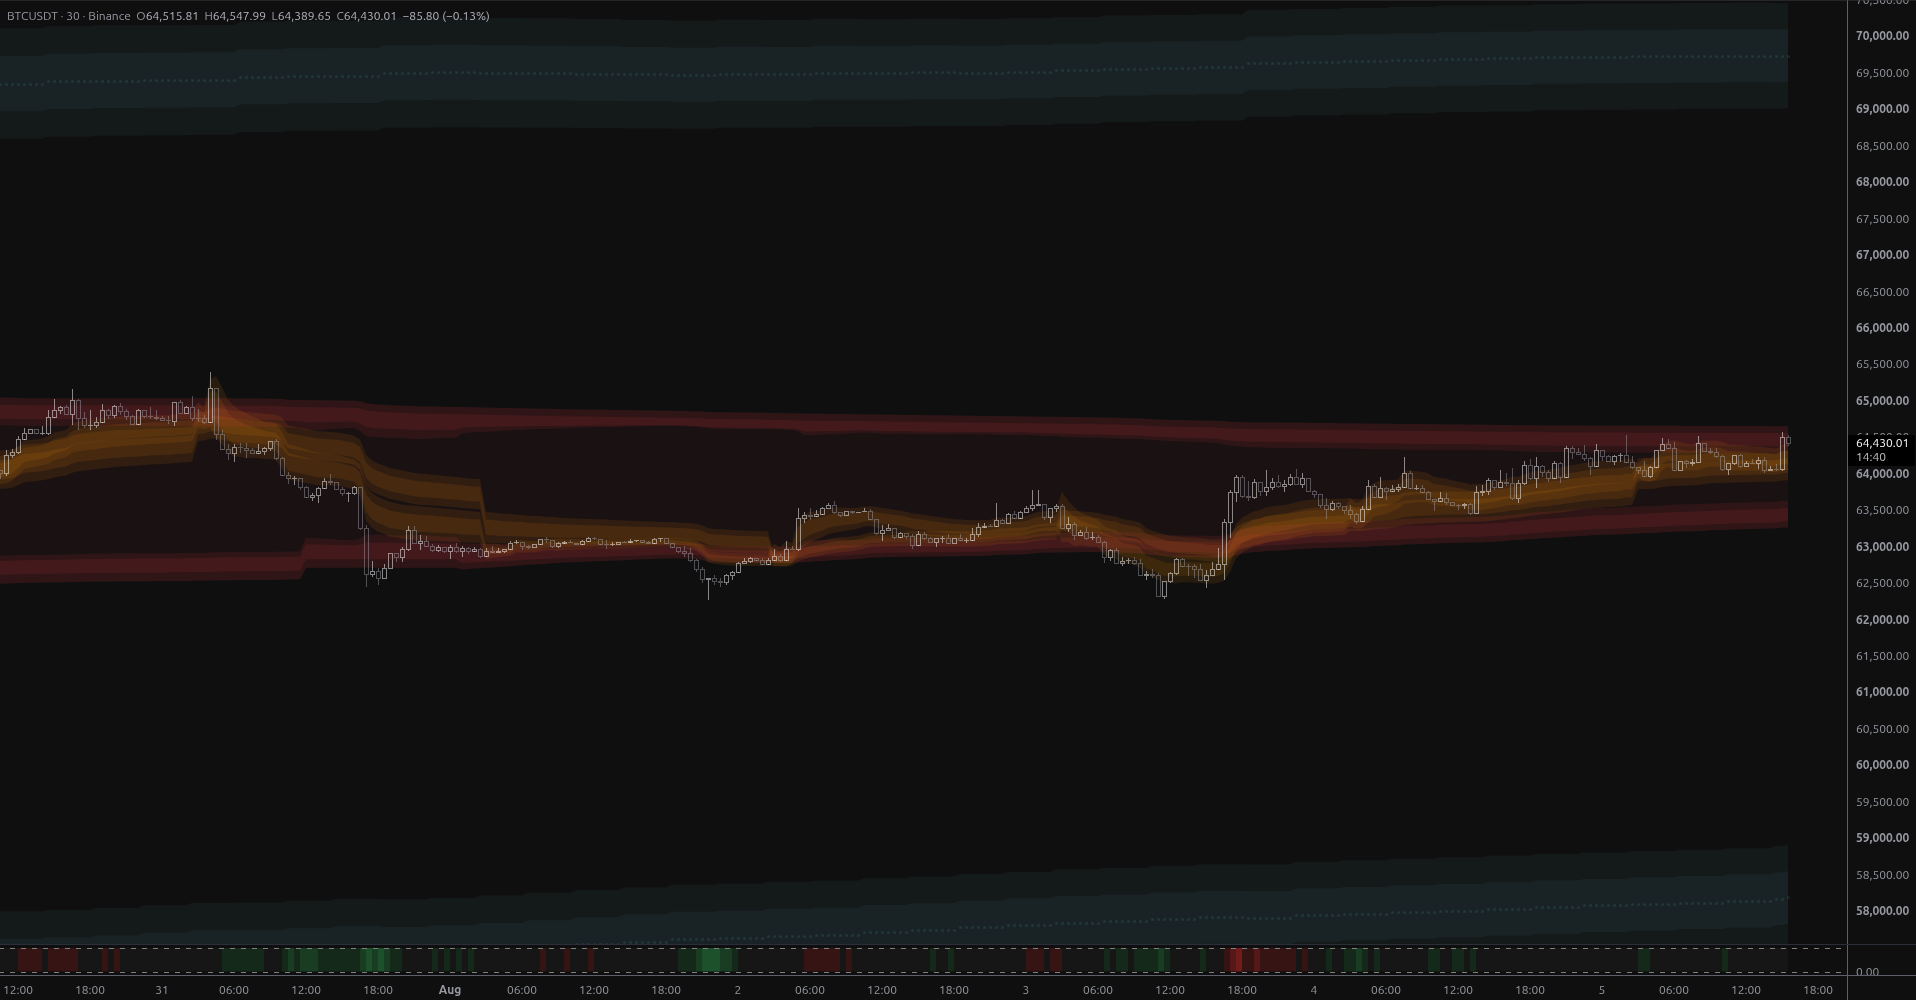
BTCUSDT: Breakout Into Open Structural Air
BTCUSDT broke above week-scale anchored value on 2.7x volume, leaving it stranded in structural open air with the nearest MSL band 6.8% overhead at $68,925 and no support until $59,012.
Visual Legend
| Element | Meaning | Interpretation | Common Mistake |
|---|---|---|---|
| Bullish Colors (Green) | Downward price rejection (buying pressure). The darker the green, the stronger the bullish conviction. | Look for long opportunities when deep green appears at support levels. | Buying just because it's green; always confirm with market structure. |
| Bearish Colors (Red) | Upward price rejection (selling pressure). The darker the red, the stronger the bearish conviction. | Look for short opportunities when deep red appears at resistance levels. | Shorting in a strong uptrend just because a light red signal appears. |
| Neutral Color (White/Gray) | Lack of clear conviction or volume. | Market is in equilibrium or chopping. Wait for a clearer signal. | Forcing trades in neutral zones. |
Settings Reference
Main
Style
Alert Types
Signal Changed
Triggered when the overall direction changes between bullish, bearish, or neutral.
Turned Oversold
Triggered when the indicator shifts to an oversold (bullish) state.
Turned Overbought
Triggered when the indicator shifts to an overbought (bearish) state.
Oversold Reversal
Triggered when a potential bullish reversal is detected from an oversold condition.
Overbought Reversal
Triggered when a potential bearish reversal is detected from an overbought condition.
Confirmed OS Reversal
Triggered when an oversold reversal is confirmed by follow-through price action.
Confirmed OB Reversal
Triggered when an overbought reversal is confirmed by follow-through price action.
Overbought Critical
Triggered when bearish conviction reaches the critical intensity threshold.
Overbought Urgent
Triggered when bearish conviction reaches the urgent intensity threshold.
Overbought
Triggered when bearish conviction reaches the active intensity threshold.
Pre-Overbought
Triggered when bearish conviction reaches the entry intensity threshold.
Oversold Critical
Triggered when bullish conviction reaches the critical intensity threshold.
Oversold Urgent
Triggered when bullish conviction reaches the urgent intensity threshold.
Oversold
Triggered when bullish conviction reaches the active intensity threshold.
Pre-Oversold
Triggered when bullish conviction reaches the entry intensity threshold.
Frequently Asked Questions
It is designed as a 'heatmap' row to save space. The intensity of the signal is conveyed through color opacity rather than the height of a line or histogram, allowing you to stack multiple indicators cleanly.
It determines the window for volume analysis, signal smoothing, and threshold sensitivity. A lower number makes the indicator more reactive to recent changes, while a higher number smooths it out for longer-term trends.
Yes, the Price Rejection Oscillator adapts to the volatility and volume of whatever timeframe it is applied to.
Choose Your Plan
Get access to Price Rejection Oscillator with the subscriptions below
Basic
- Adaptive MA Bands
- Price Rejection Oscillator
- Supply/Demand Zones
- Value Area Heatmap
- Support: Email (3-5 business days)
Basic
- Adaptive MA Bands
- Price Rejection Oscillator
- Supply/Demand Zones
- Value Area Heatmap
- Support: Email (3-5 business days)
Pro
- Adaptive MA Bands
- Price Rejection Oscillator
- Supply/Demand Zones
- Value Area Heatmap
- Anchored VWAP Channels
- Anchored VWAP Heatmap
- Support: Email (1-2 business days)
- 30-day money-back guarantee
Pro
- Adaptive MA Bands
- Price Rejection Oscillator
- Supply/Demand Zones
- Value Area Heatmap
- Anchored VWAP Channels
- Anchored VWAP Heatmap
- Support: Email (1-2 business days)
- 30-day money-back guarantee
Elite
- Adaptive MA Bands
- Price Rejection Oscillator
- Supply/Demand Zones
- Value Area Heatmap
- Anchored VWAP Channels
- Anchored VWAP Heatmap
- Market Structure Levels
- Premium ideas: Full Access to our Premium Ideas
- Support: Email (1-2 business days) + Discord Live Support
- 30-day money-back guarantee
Elite
- Adaptive MA Bands
- Price Rejection Oscillator
- Supply/Demand Zones
- Value Area Heatmap
- Anchored VWAP Channels
- Anchored VWAP Heatmap
- Market Structure Levels
- Premium ideas: Full Access to our Premium Ideas
- Support: Email (1-2 business days) + Discord Live Support
- 30-day money-back guarantee
Related Indicators
Other indicators that complement Price Rejection Oscillator.
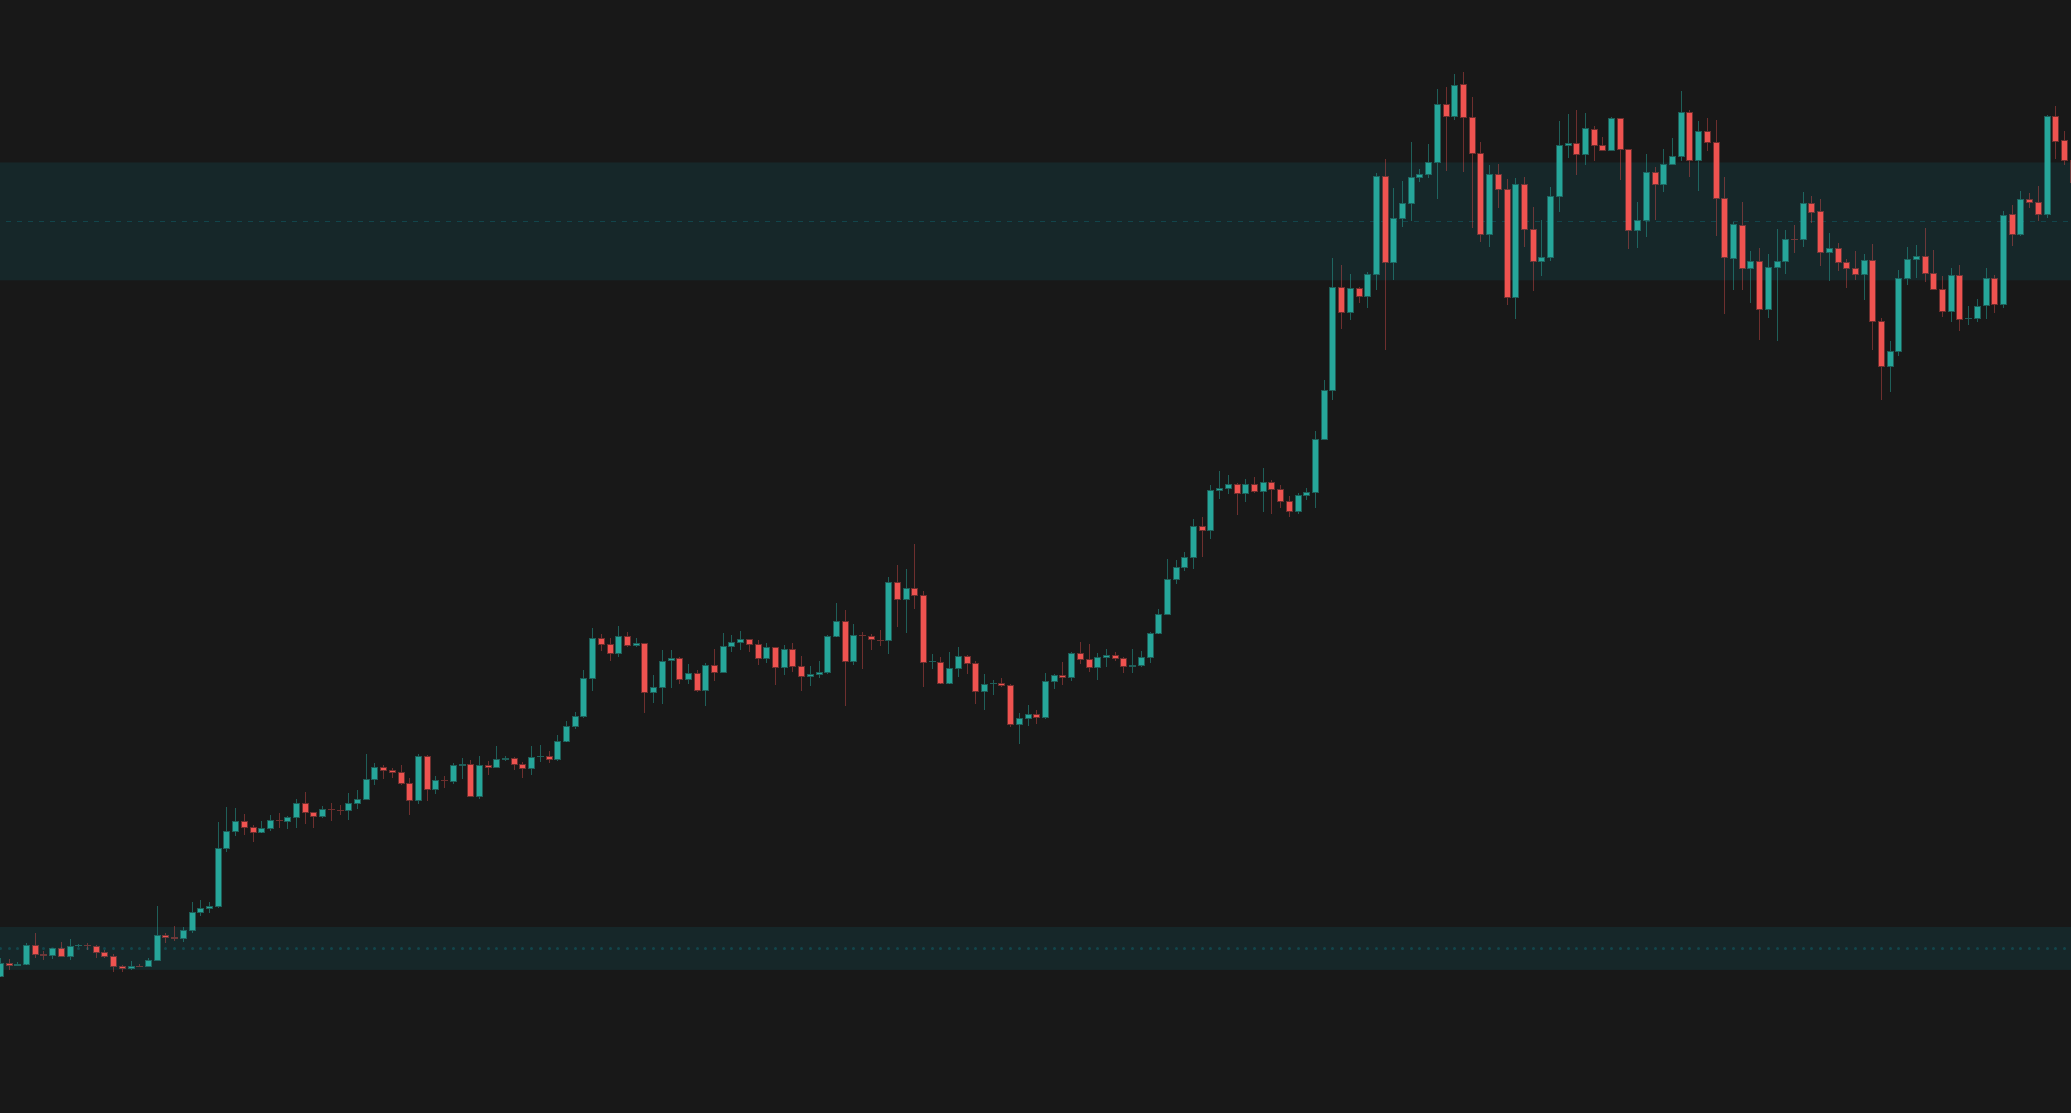
Supply/Demand Zones
Automatically identifies high-probability Supply and Demand zones using advanced volume calculations and price action pattern recognition.
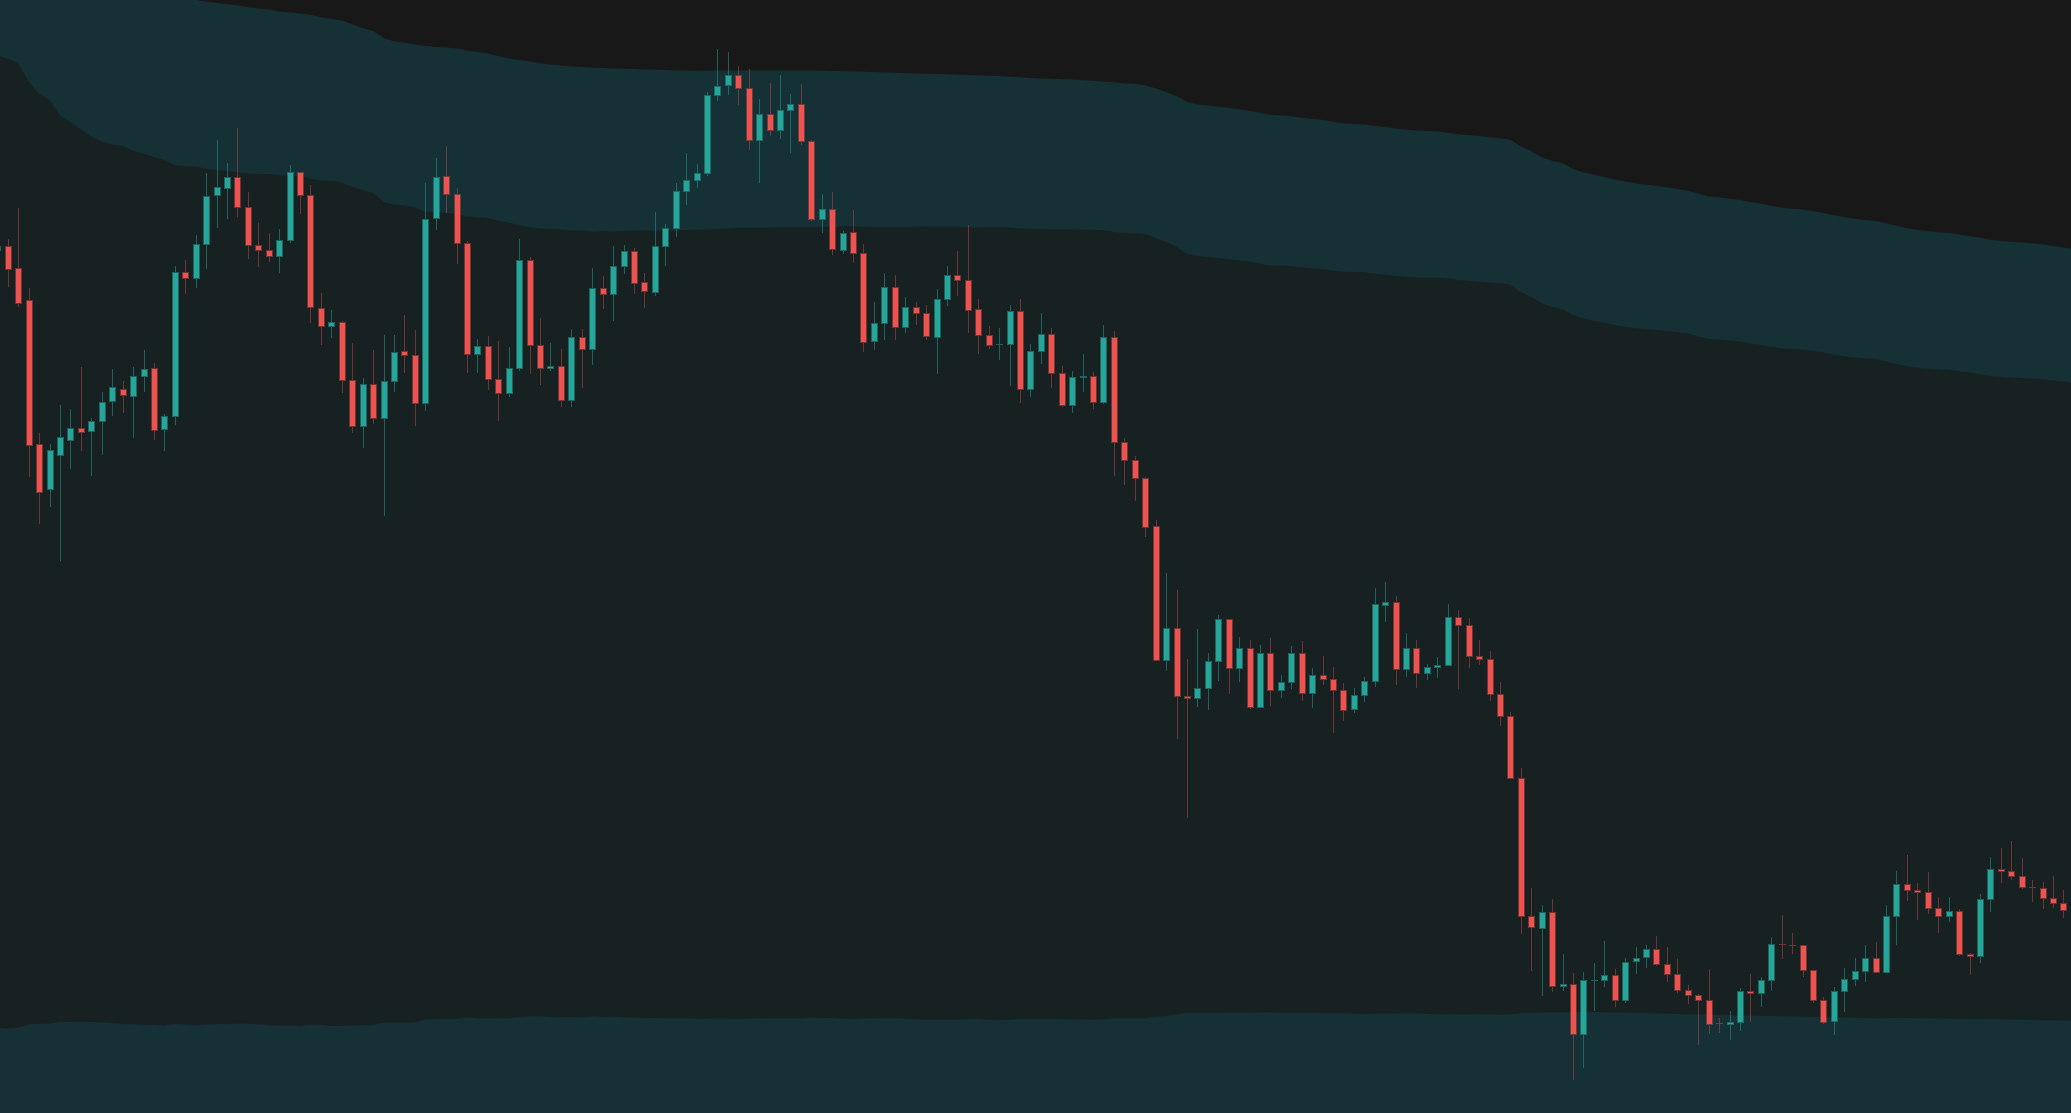
Anchored VWAP Channels
Anchored VWAP Channels that dynamically track volume-weighted average price from significant pivots or time periods, complete with volatility bands and historical levels.
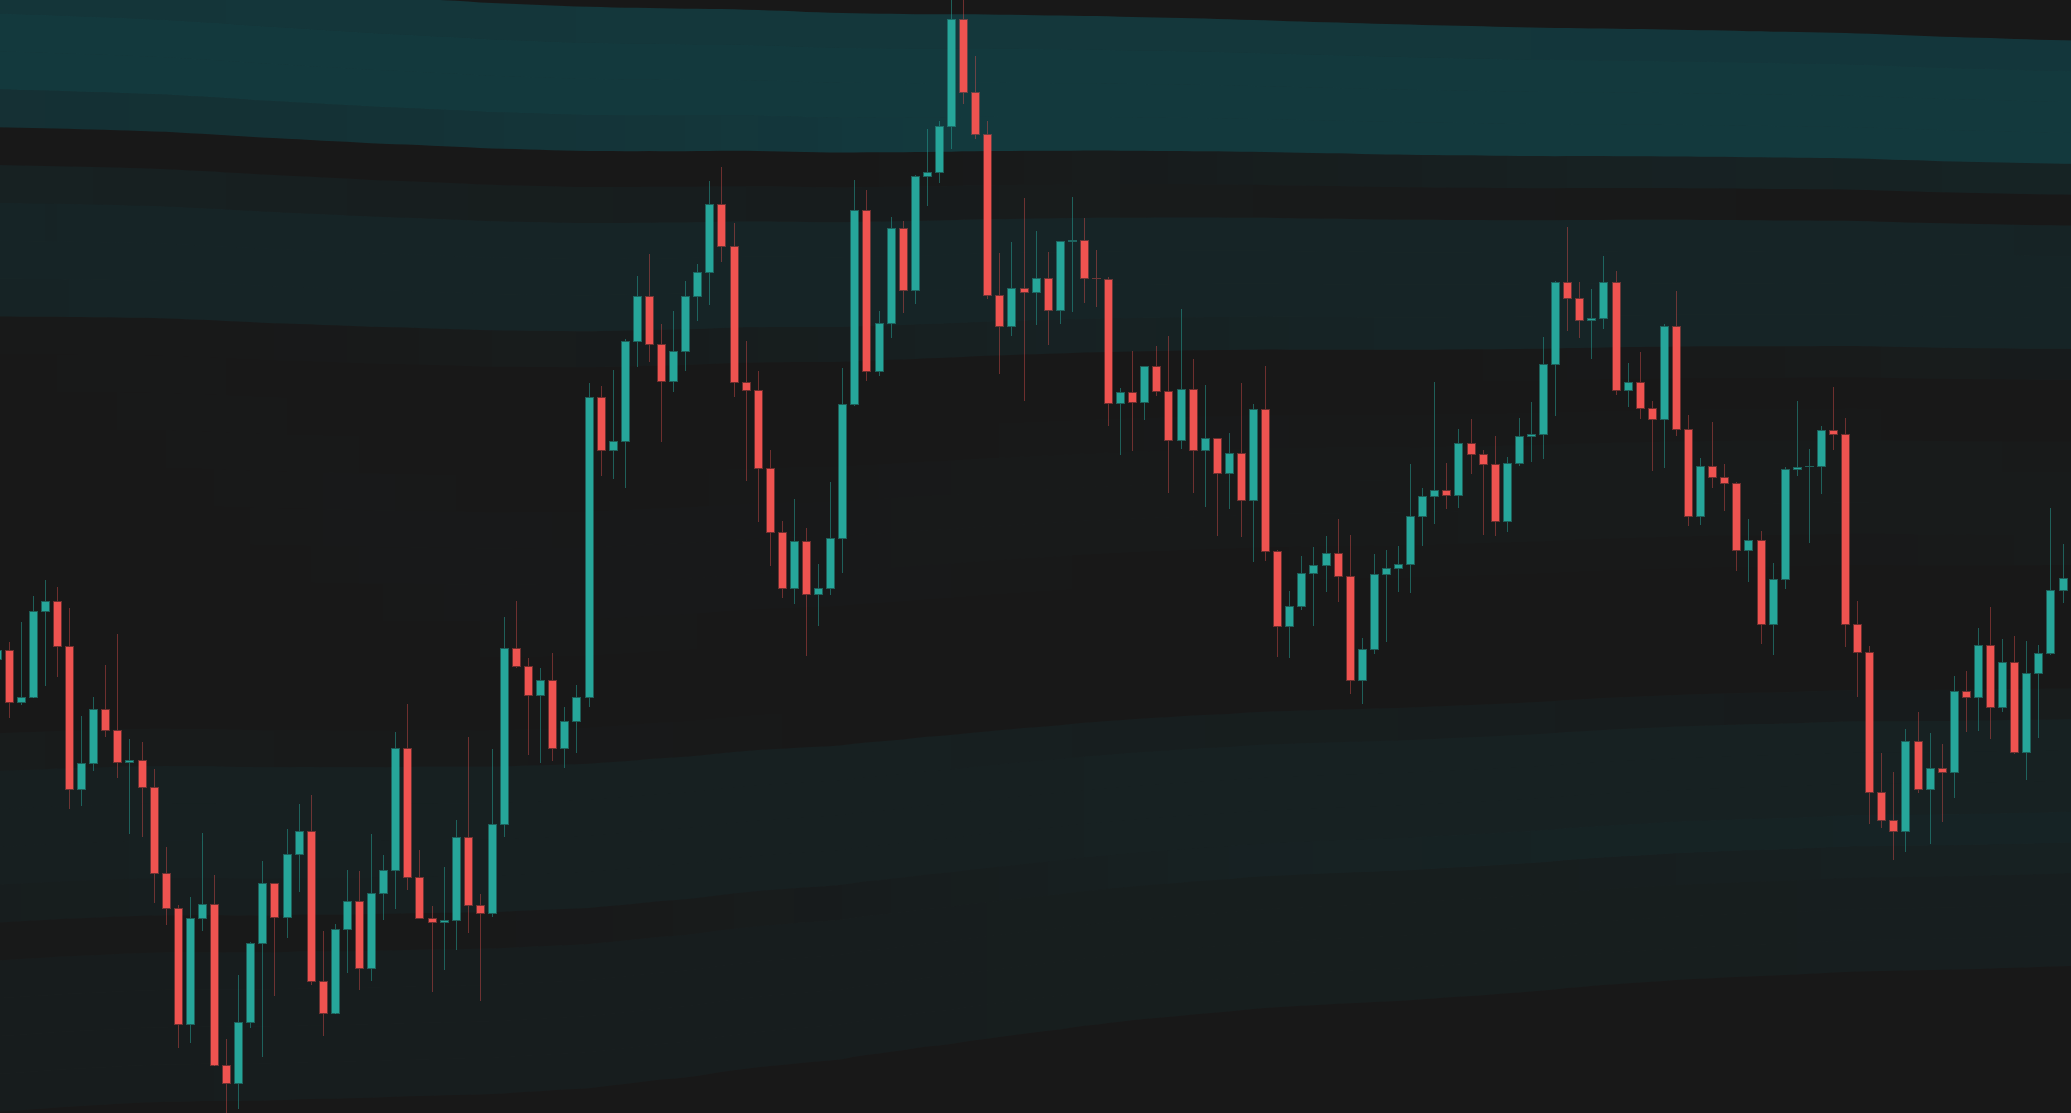
Anchored VWAP Heatmap
A powerful volume-at-price visualization tool that anchors VWAP to significant market events and displays historical volume density as a heatmap.
Connect With Us
Join our community of traders and stay updated with our latest tools and market insights.