
Anchored VWAP
Heatmap.
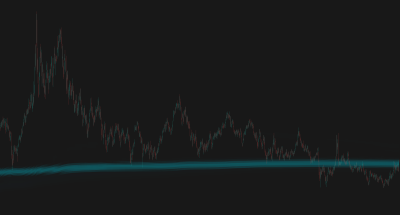
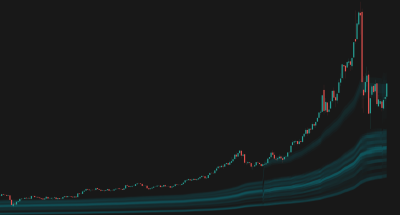
A powerful volume-at-price visualization tool that anchors VWAP to significant market events and displays historical volume density as a heatmap.

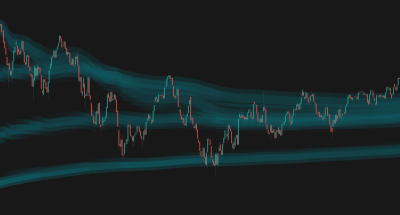
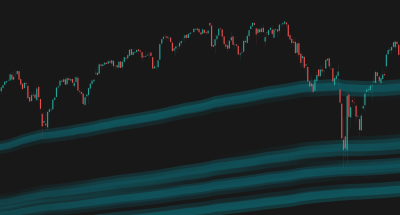
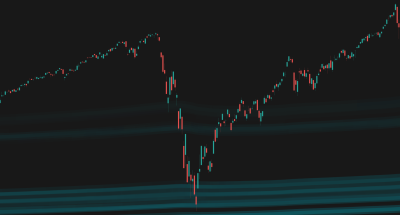
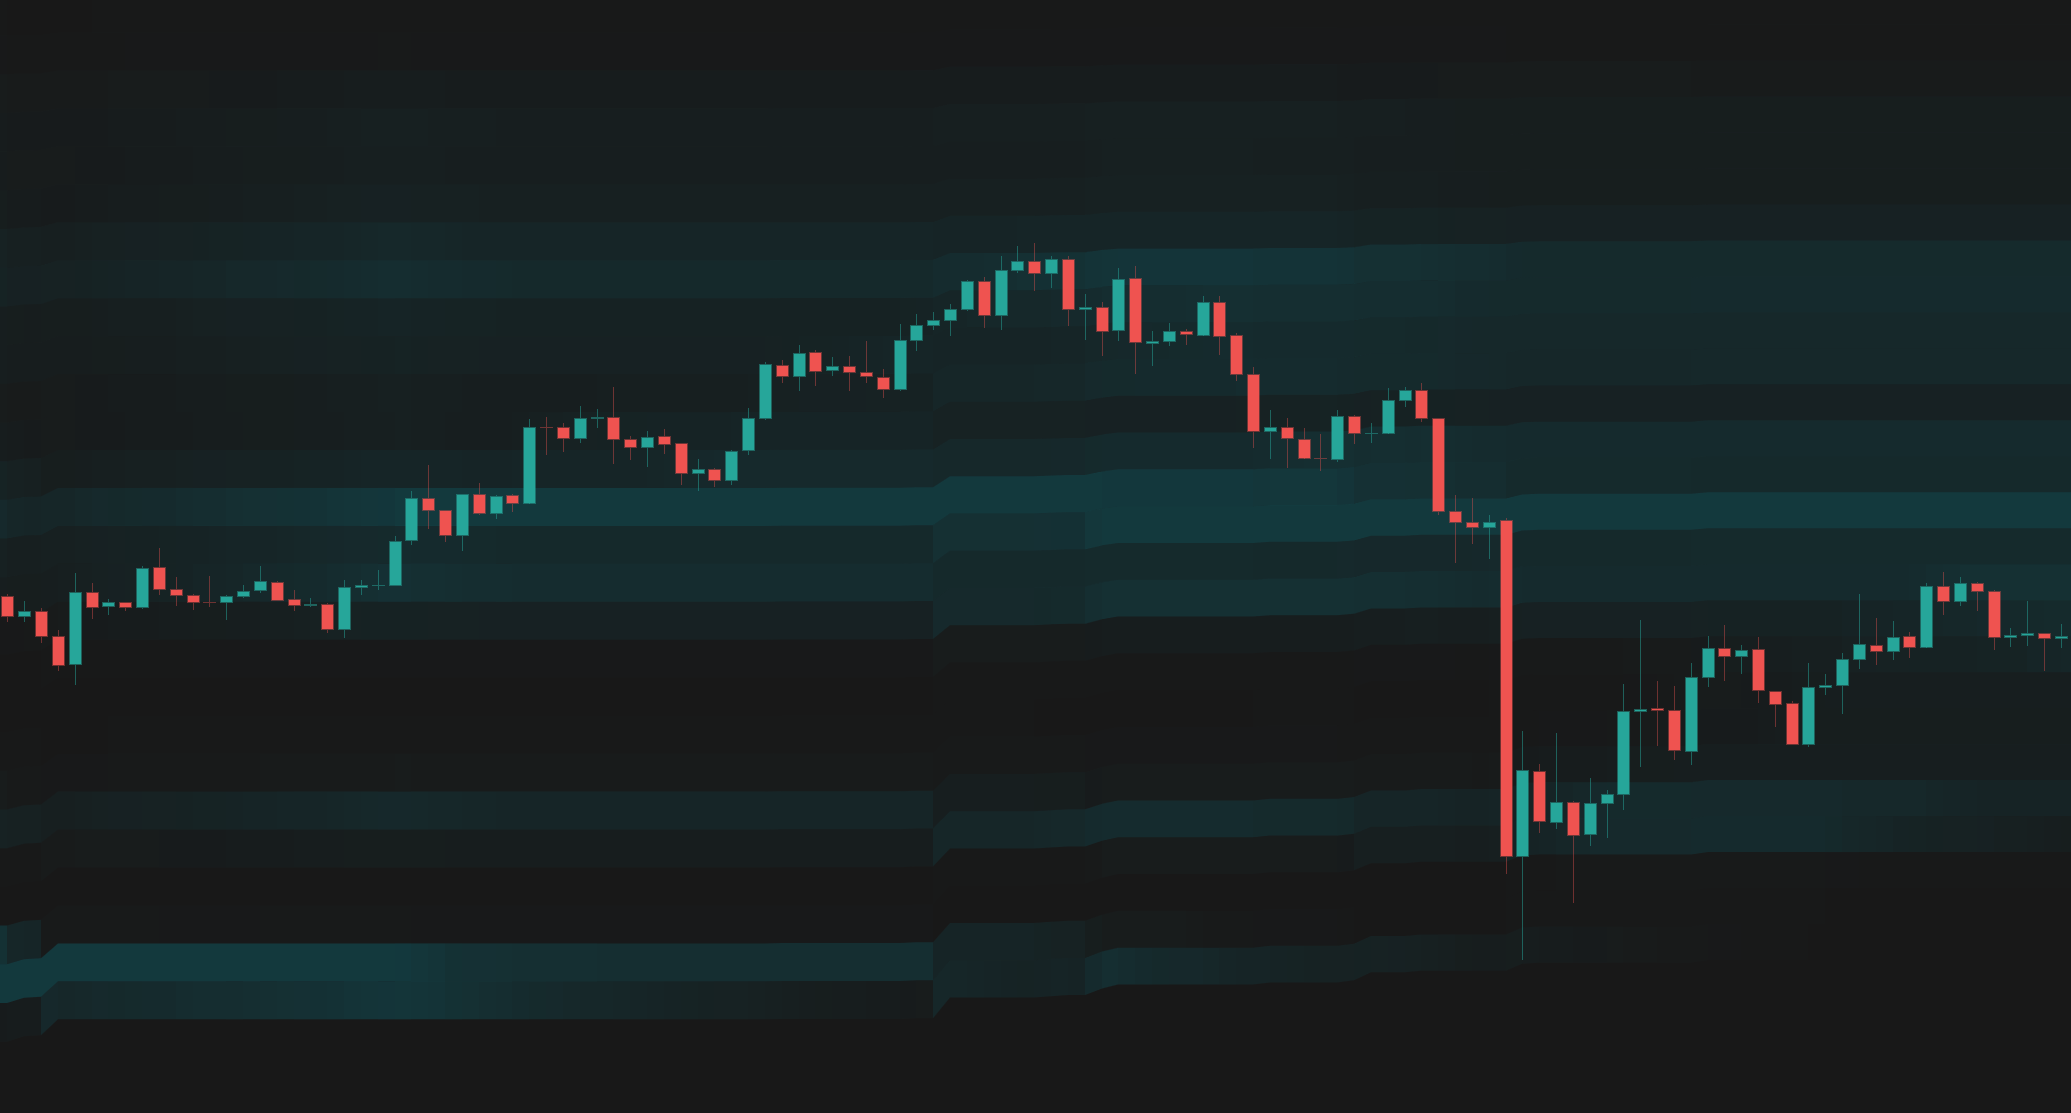
Caught retracement bottom - SPX, 1D
Overview
The Problem
Traditional Volume Profile is static and doesn't account for the time-weighted average price from specific market events. Standard Anchored VWAP only shows a single line, missing the context of historical volume distribution across different price levels.
The Solution
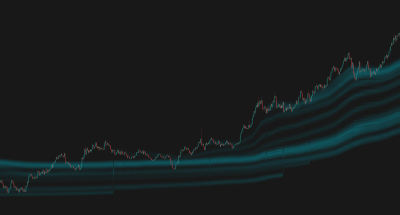
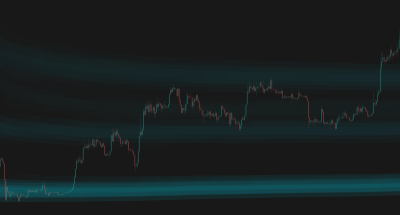
Anchored VWAP Heatmap combines the precision of event-anchored VWAP with the depth of volume profile. It overlays historical volume density as a heatmap around key VWAP levels, revealing hidden support/resistance zones and high-liquidity nodes.
Who It's For
Day traders, swing traders, and order flow analysts looking for precise volume-backed support and resistance levels.
Key Features
Dynamic Anchoring: Automatically anchor to time periods (Session, Week, Month) or market pivots (Highs, Lows).
Volume Heatmap: Visualizes historical volume density across dynamic price channels.
Multiple VWAP Types: Choose between standard Volume Weighted Average Price (VWAP) or Exponential VWAP (EVWAP).
Customizable Density: Adjust how volume differences map to visual intensity using Weighted or Sequential formulas.
Highest Volume Node Tracking: Automatically identifies the highest volume node within the heatmap.
How It Works
Anchoring Mechanism
The indicator anchors its VWAP to specific events—either fixed time intervals (like a new session or week) or dynamic market pivots (significant highs or lows).
Heatmap Generation
It aggregates volume data from multiple historical AVWAP periods and maps it across price levels to create a visual density representation.
Transparency Mapping
Areas with higher volume activity are displayed more prominently (in Normal mode), making high-liquidity zones visually stand out as solid bands.
How To Use
Quickstart
- Add Anchored VWAP Heatmap to your chart.
- Select your preferred Anchor Period (e.g., 'Session' for day trading, 'Pivot' for swing trading).
- Adjust the 'Previous Anchored VWAPs' to control how much historical data is included in the heatmap.
- Look for bright/solid color bands—these represent high-volume nodes that act as strong support or resistance.
Interpretation
- Price approaching a high-density zone (bright band) is likely to find support or resistance.
- Price breaking through a high-density zone with momentum indicates a strong trend continuation.
- Low-density zones (transparent bands) represent areas where price may move quickly due to lack of historical liquidity.
Visual Legend
| Element | Meaning | Interpretation | Common Mistake |
|---|---|---|---|
| Bright/Solid Bands | High Volume Nodes — Areas of significant historical trading activity. | Strong support/resistance; price often stalls or reverses here. | Assuming price will always reverse; strong momentum can break these zones. |
| Transparent/Faint Bands | Low Volume Nodes — Areas with little historical trading activity. | Price tends to move quickly through these zones. | Placing tight stops in these areas, as volatility can be high. |
| Highest Volume Node | The area with the highest volume. | The ultimate magnet for price; acts as the strongest level of interest. | Ignoring the surrounding context; this node is strong but not invincible. |
Settings Reference
Main
Advanced
Style
Alert Types
New Period Started
Triggered when a new AVWAP anchor period begins.
Price Entered VWAP Range
Triggered when price enters between the lowest and highest AVWAP lines.
Price Entered VWAP from Above
Triggered when price enters the AVWAP range coming from above.
Price Entered VWAP from Below
Triggered when price enters the AVWAP range coming from below.
Frequently Asked Questions
VWAP weights all volume equally since the anchor point. EVWAP applies an exponential decay, giving more weight to recent volume.
It automatically selects the most appropriate time-based anchor (Session, Week, Month, etc.) based on your current chart timeframe.
These are areas where little to no volume was traded during the tracked historical periods, indicating a lack of liquidity.
Choose Your Plan
Get access to Anchored VWAP Heatmap with the subscriptions below
Pro
- Adaptive MA Bands
- Price Rejection Oscillator
- Supply/Demand Zones
- Value Area Heatmap
- Anchored VWAP Channels
- Anchored VWAP Heatmap
- Support: Email (1-2 business days)
- 30-day money-back guarantee
Pro
- Adaptive MA Bands
- Price Rejection Oscillator
- Supply/Demand Zones
- Value Area Heatmap
- Anchored VWAP Channels
- Anchored VWAP Heatmap
- Support: Email (1-2 business days)
- 30-day money-back guarantee
Elite
- Adaptive MA Bands
- Price Rejection Oscillator
- Supply/Demand Zones
- Value Area Heatmap
- Anchored VWAP Channels
- Anchored VWAP Heatmap
- Market Structure Levels
- Premium ideas: Full Access to our Premium Ideas
- Support: Email (1-2 business days) + Discord Live Support
- 30-day money-back guarantee
Elite
- Adaptive MA Bands
- Price Rejection Oscillator
- Supply/Demand Zones
- Value Area Heatmap
- Anchored VWAP Channels
- Anchored VWAP Heatmap
- Market Structure Levels
- Premium ideas: Full Access to our Premium Ideas
- Support: Email (1-2 business days) + Discord Live Support
- 30-day money-back guarantee
Related Indicators
Other indicators that complement Anchored VWAP Heatmap.
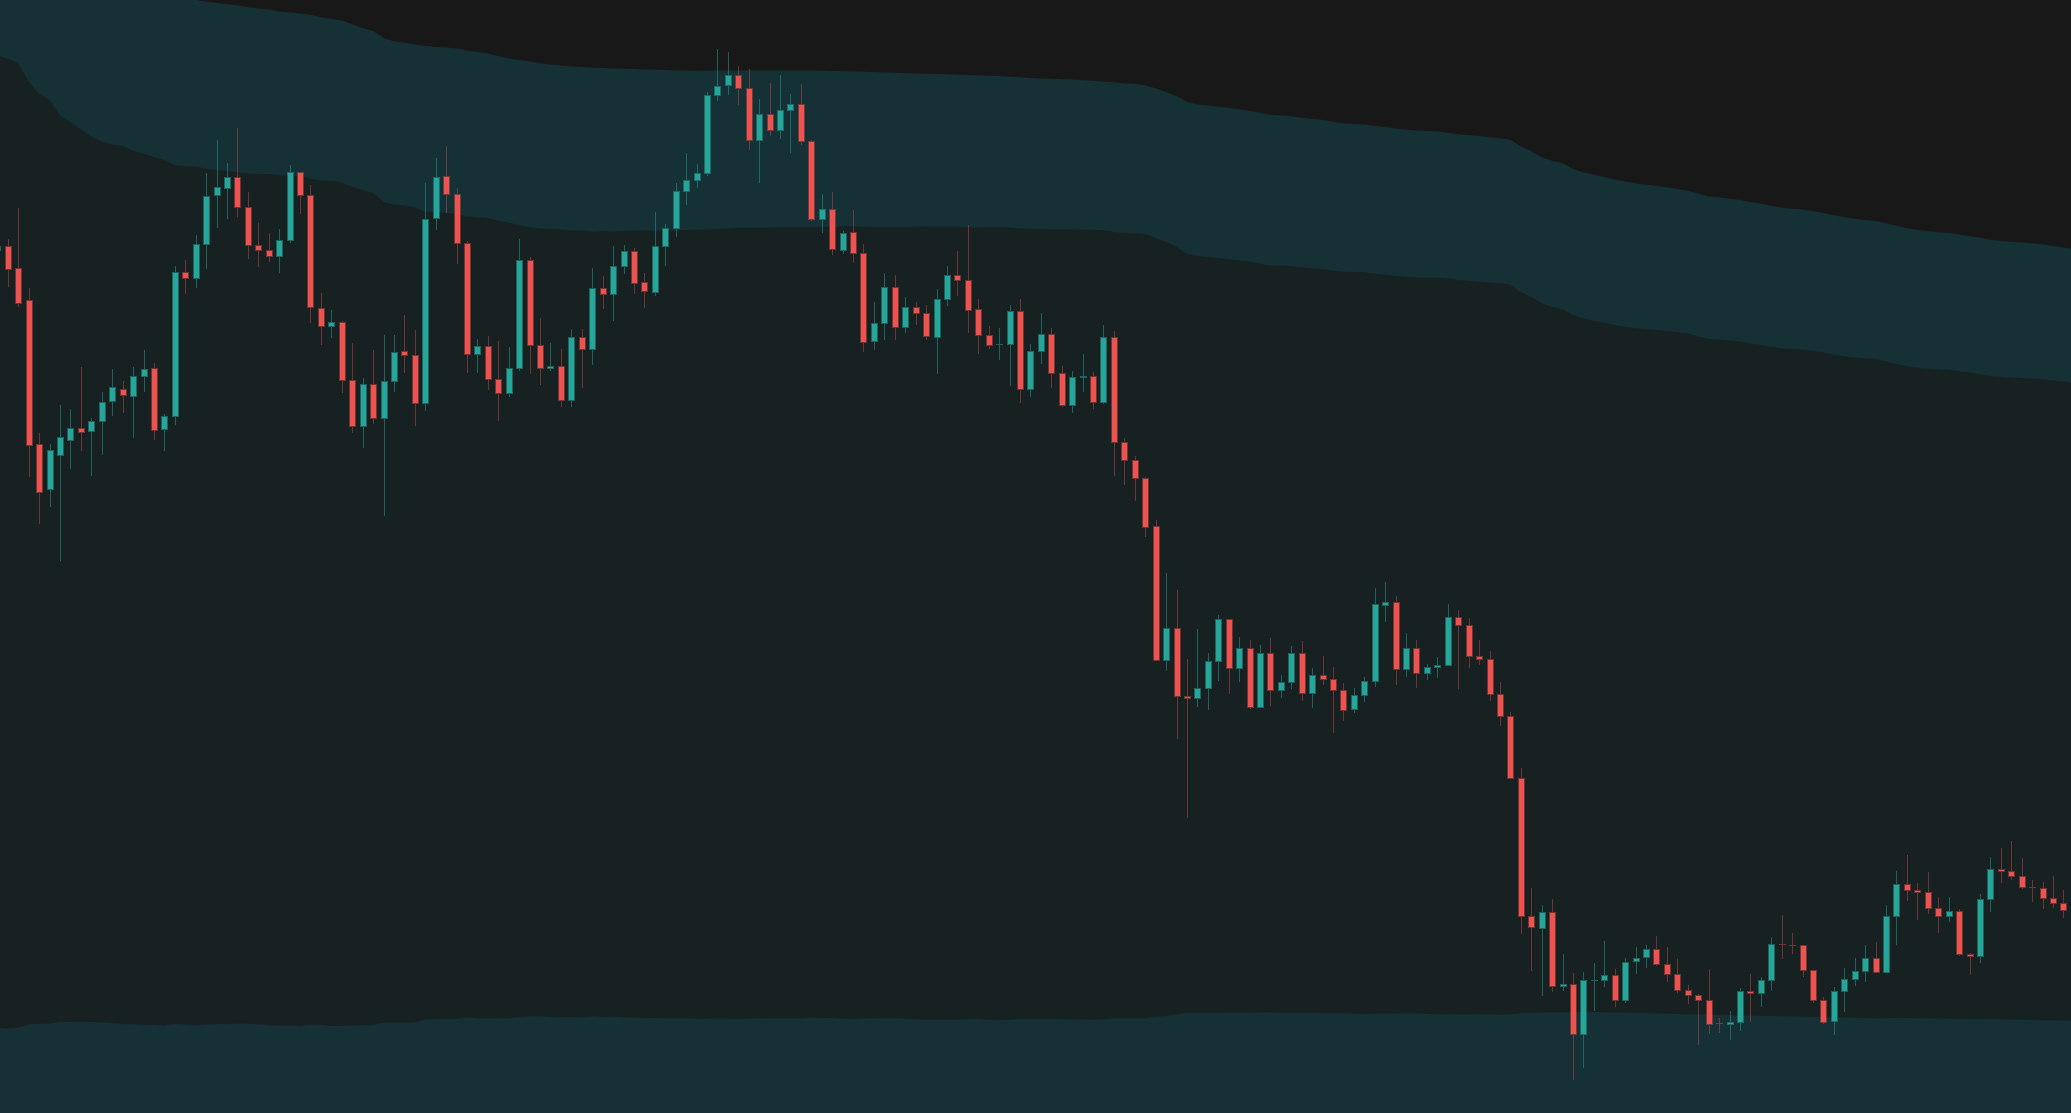
Anchored VWAP Channels
Anchored VWAP Channels that dynamically track volume-weighted average price from significant pivots or time periods, complete with volatility bands and historical levels.
Value Area Heatmap
Visualizes volume distribution across price levels using a dynamic heatmap, highlighting high-liquidity zones and low-volume nodes.
Price Rejection Oscillator
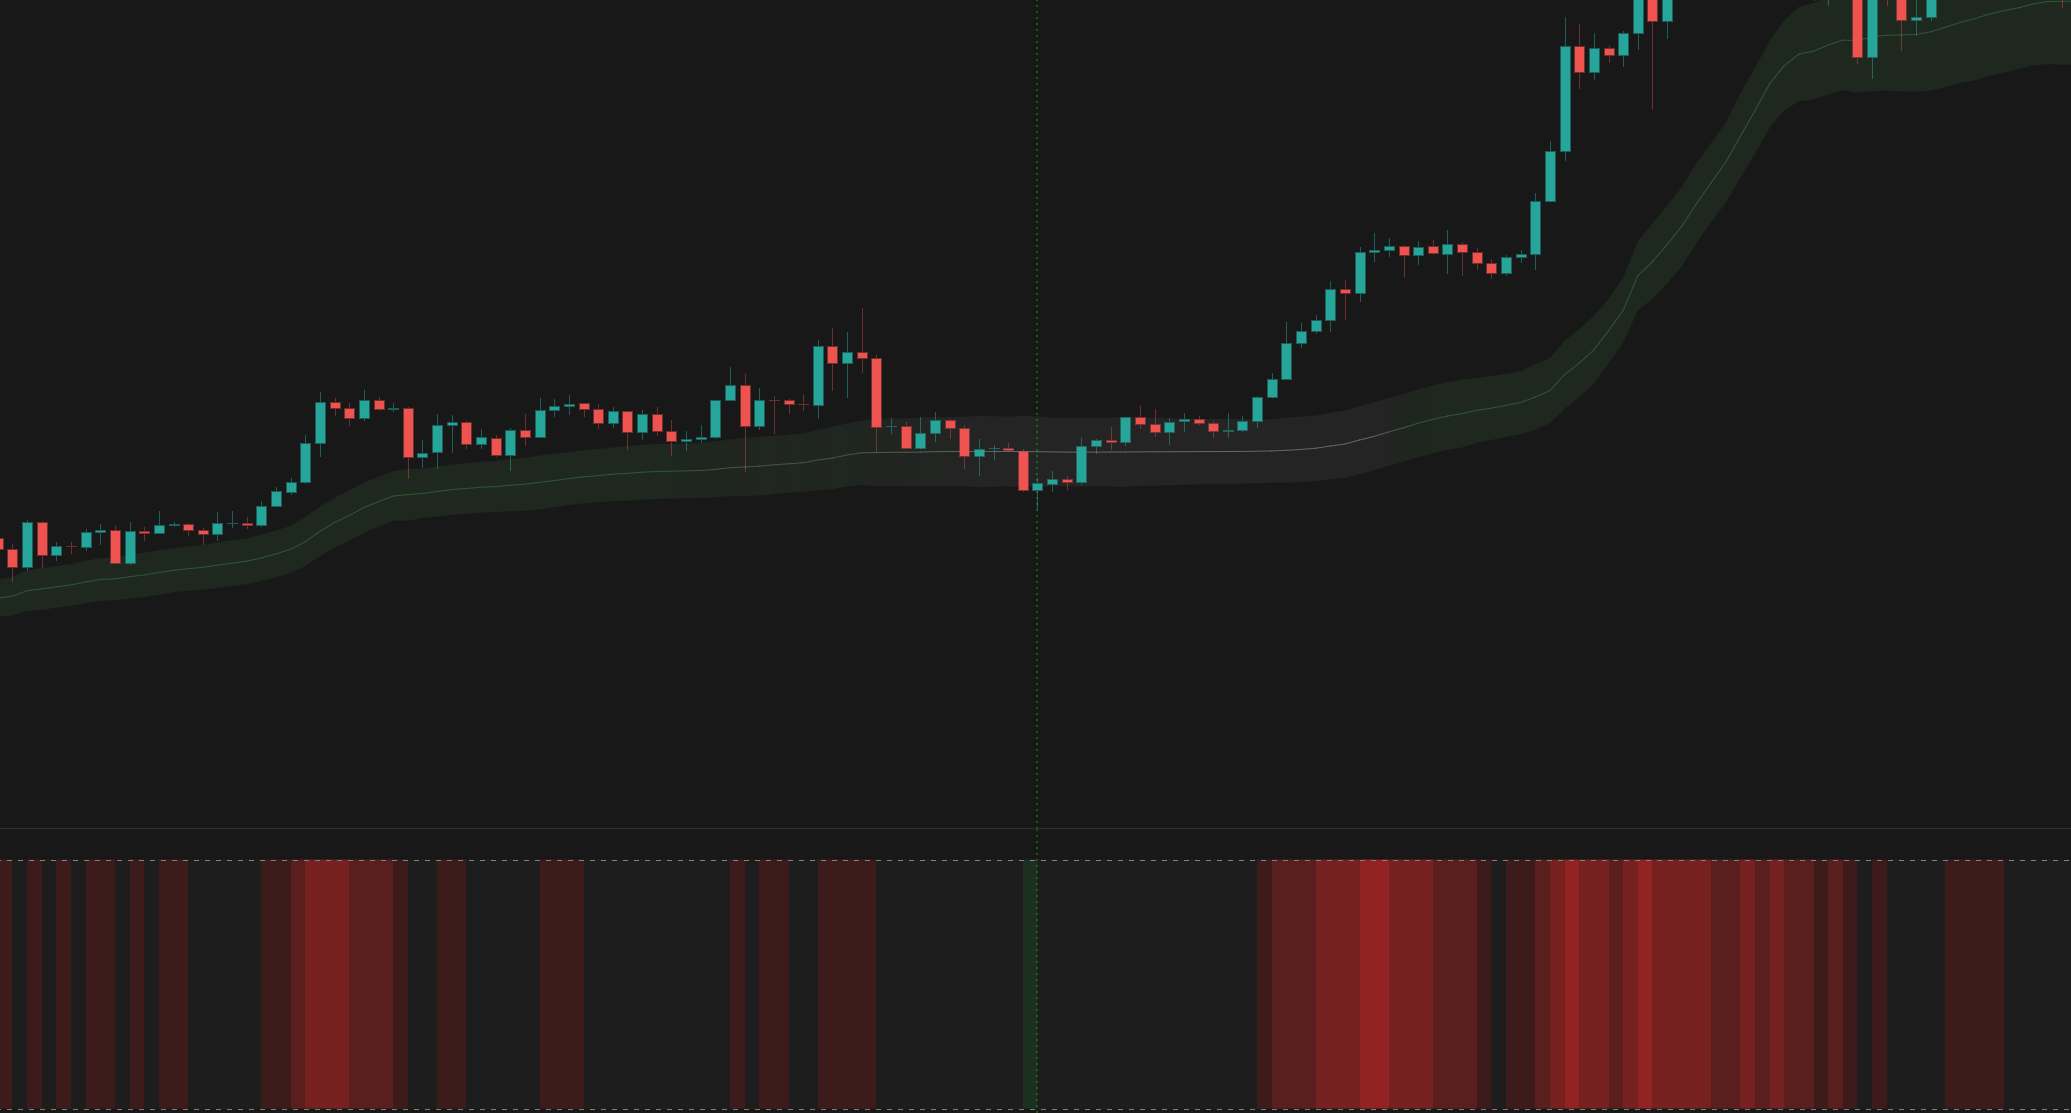
An oscillator that measures price conviction and volume to identify strong price rejections and potential reversals.
Connect With Us
Join our community of traders and stay updated with our latest tools and market insights.